I still plan on doing many more different mods to this, but the basics are finished for now so I am putting up the writeup. I forgot to take a lot of pics, but you should get the general idea. When I open the gun up again for updates I will take much more pics to add into the writeup. Now onto the mod...
-----------------------------------------------------------------------------------------------------------------------------
First open up your Berserker. If you have the older one there is a screw underneath the sticker.
Now carefully remove the airgun/BB part. Now unscrew the rotation mech, and remove it. After that cut down the stock barrel so that when you put your CPVC coupler over the stock barrel(After sanding) you can have it inside your rotation mech. Make sure you put on the back of the rotation mech before you attach the CPVC coupler.
[img]http://i1038.photobucket.com/albums/a463/greenwing1/Overhauled%20Berserker/PB120030.jpg[/img]
[img]http://i1038.photobucket.com/albums/a463/greenwing1/Overhauled%20Berserker/PB120031.jpg[/img]
Now glue on the CPVC coupler and put the rotation mech back together.
Side Note: I did this mod on another Berserker but with a PVC coupler also. You will need to widen the hole in the turret and rotation mech for it to work though.
-----------------------------------------------------------------------------------------------------------------------------
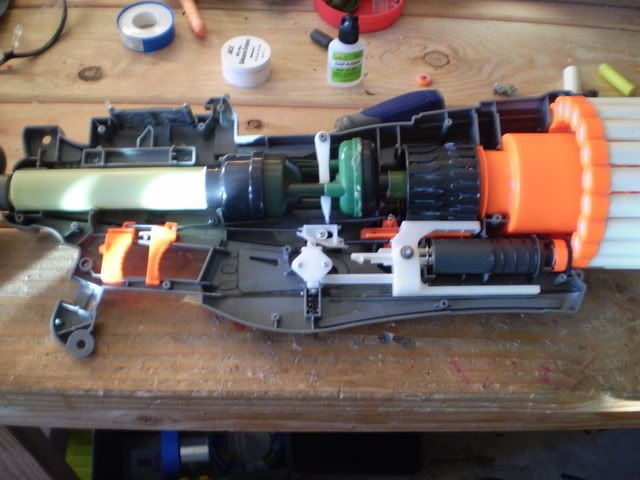
Now we will start working on the springer portion. Remove the entire springer part from the blaster. Pull out the plunger rod. Now add about a 1/2" of hotglue on the plunger rod so that it compresses the spring fully when primed.
[img]http://i1038.photobucket.com/albums/a463/greenwing1/Overhauled%20Berserker/PC230040.jpg[/img]
The stock seal was great so I didn't see the need to replace it. Now take the plunger tube and cut off the orange part for the stock turret seal.
[img]http://i1038.photobucket.com/albums/a463/greenwing1/Overhauled%20Berserker/PC210032.jpg[/img]
It should look something like this now:
[img]http://i1038.photobucket.com/albums/a463/greenwing1/Overhauled%20Berserker/PC210033.jpg[/img]
Now drill a hole as wide as possible through it. This improves the airflow greatly, helping range. It should look like this now:
[img]http://i1038.photobucket.com/albums/a463/greenwing1/Overhauled%20Berserker/PC210034.jpg[/img]
Then I wrapped the end of the plunger tube with duct tape until it would just barely still fit in the shell. Then I put a few layers of craft foam on top and made a hole through it for the air to go through. This was done because the stock seal is too small to work if the turret is rearloading.
[img]http://i1038.photobucket.com/albums/a463/greenwing1/Overhauled%20Berserker/PC230038.jpg[/img]
From the front:
[img]http://i1038.photobucket.com/albums/a463/greenwing1/Overhauled%20Berserker/PC230039.jpg[/img]
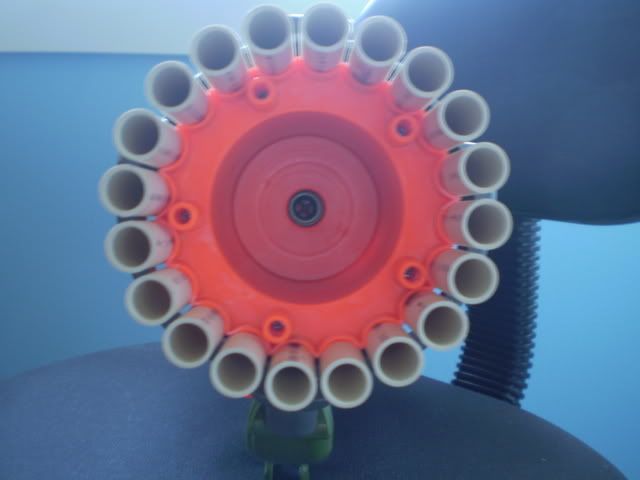
Now we will work on the actual turret itself. My camera died here so I don't have any pictures right now, but I will update this section with pics when I open the blaster up again. However most of this is the same as modding any other Berserkers turret so follow numat-49's write up for making the turret. However make the barrels 3" long and widen the back of each hole so you can rear load it.
Make sure that when you glue the turret together that all the barrels are glued evenly so each barrel makes a perfect seal. If you screw this up it won't work. You will have to adjust the seal by experimenting.
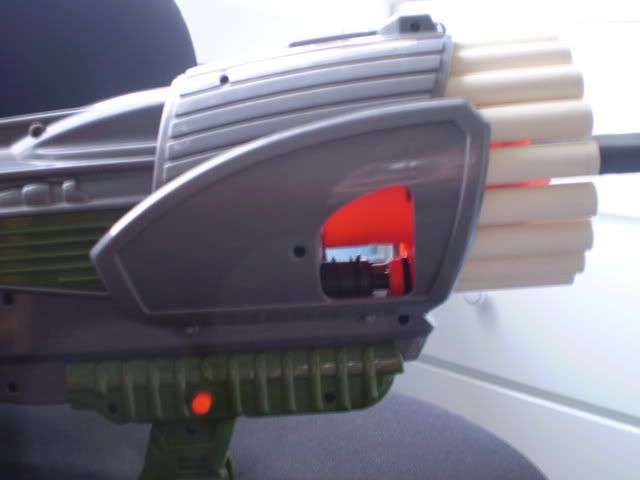
Now its time for the rear loading slot. First remove the stickers that are in the way from the shell. The rest you can probably figure out from the pics.
[img]http://i1038.photobucket.com/albums/a463/greenwing1/Overhauled%20Berserker/PC230035.jpg[/img]
[img]http://i1038.photobucket.com/albums/a463/greenwing1/Overhauled%20Berserker/PC230036.jpg[/img]
[img]http://i1038.photobucket.com/albums/a463/greenwing1/Overhauled%20Berserker/PC230037.jpg[/img]
Now reassemble the blaster. It should look something like this:
Now screw it together, make a barrel for the airgun and test it. It takes a lot of experimenting with the seal to get the turret right, but when you do it should shoot about 60' flat with slugs(How far mine shoots with a decent seal).

Video showing a range test and a firing demo:
Overall I am very happy with the finished product. Rear-loading makes the turret [u]Much[/u] nicer to use, and now that it shoots 60' it is much more effective. The airgun works great too. I still have a lot more plans for this and some of the next mods I will do to this are:
-Pump Replacement
-Titan/other airgun integration in the turret
-RSCB the BB
I will update this post once I finish those other modifications.


No comments:
Post a Comment