
These mods will cover how to:
- Remove ARs
- Increase usable volume of the plunger tube
- Preload the spring
- Install the Retaliator internals into a Recon

To install Retaliator internals into a Recon shell Very little work needs to be done. It only needs some of the ribs to be ground down and a plate in the back to hold the spring in while allowing the plunger rod to go through.
Power Mods:
AR removal-
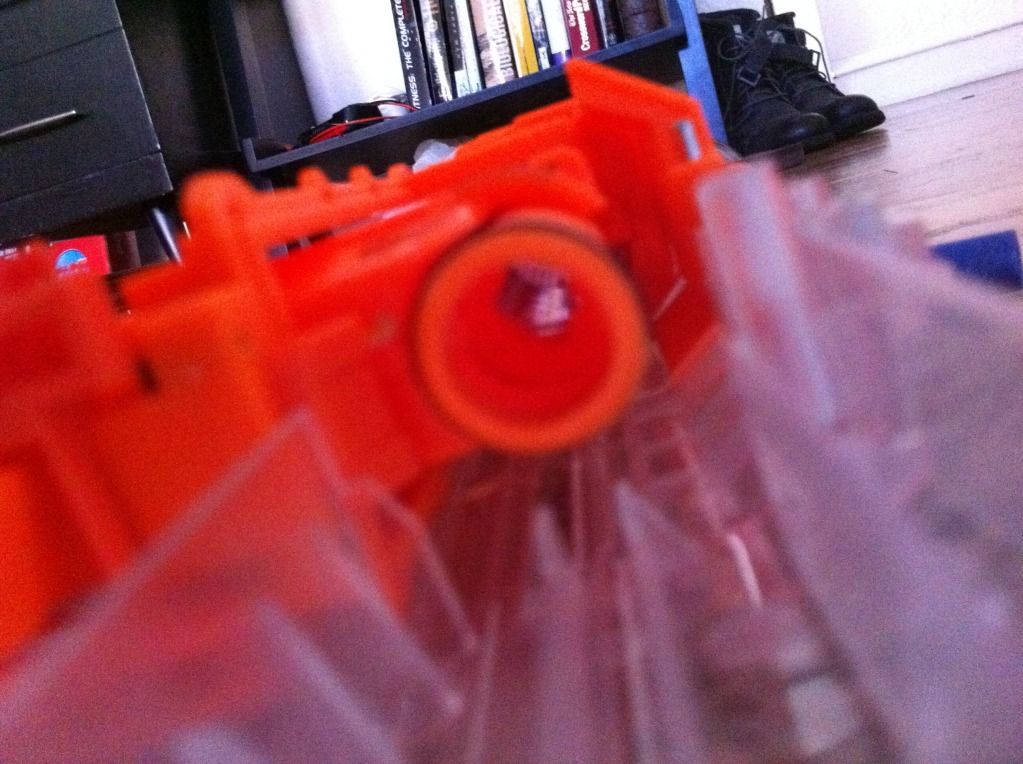
There are also 3 plastic nubs holding the AR spring in. You can either leave the spring in and drill through the middle, pull the spring out with some jeweler pliers or grind down the nub so the spring falls out.
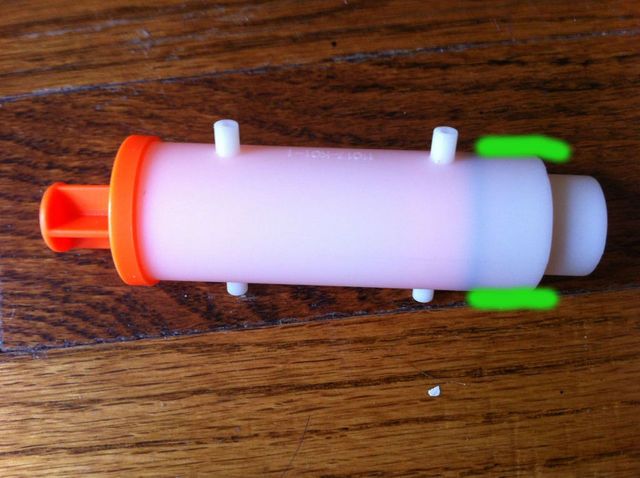
Tube Volume
<----To this ---->
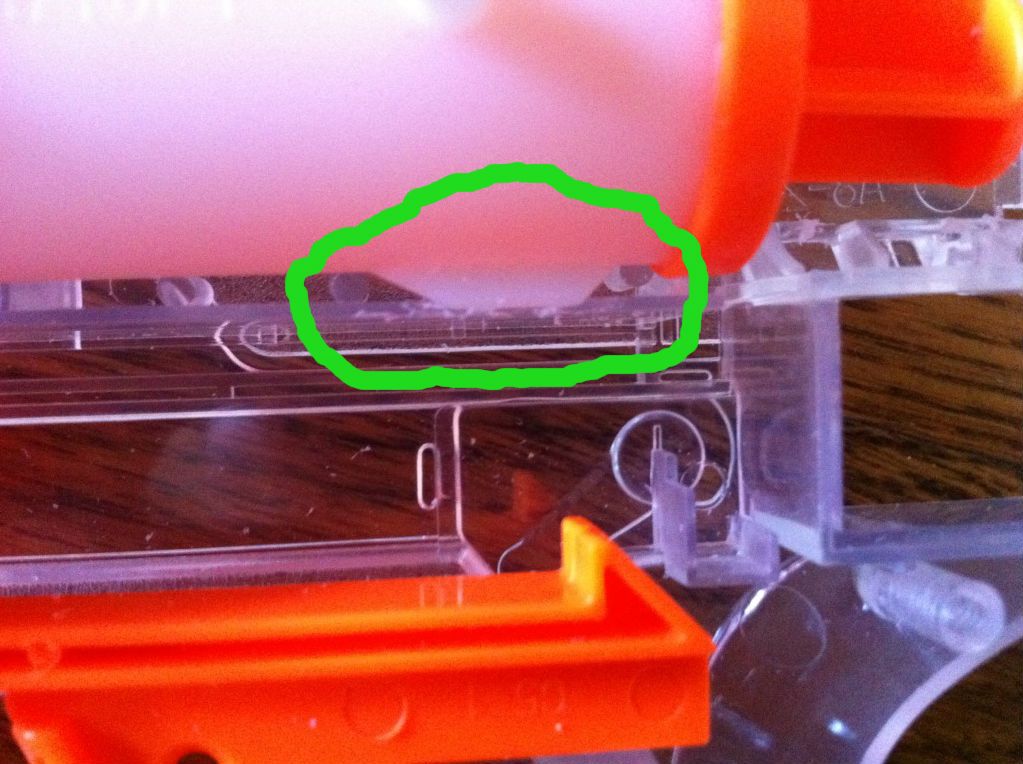
First you need to grind down the small ledge on the inside of the tube. It's right where the plunger head rests in the first pick above. I just used a round utility bit.

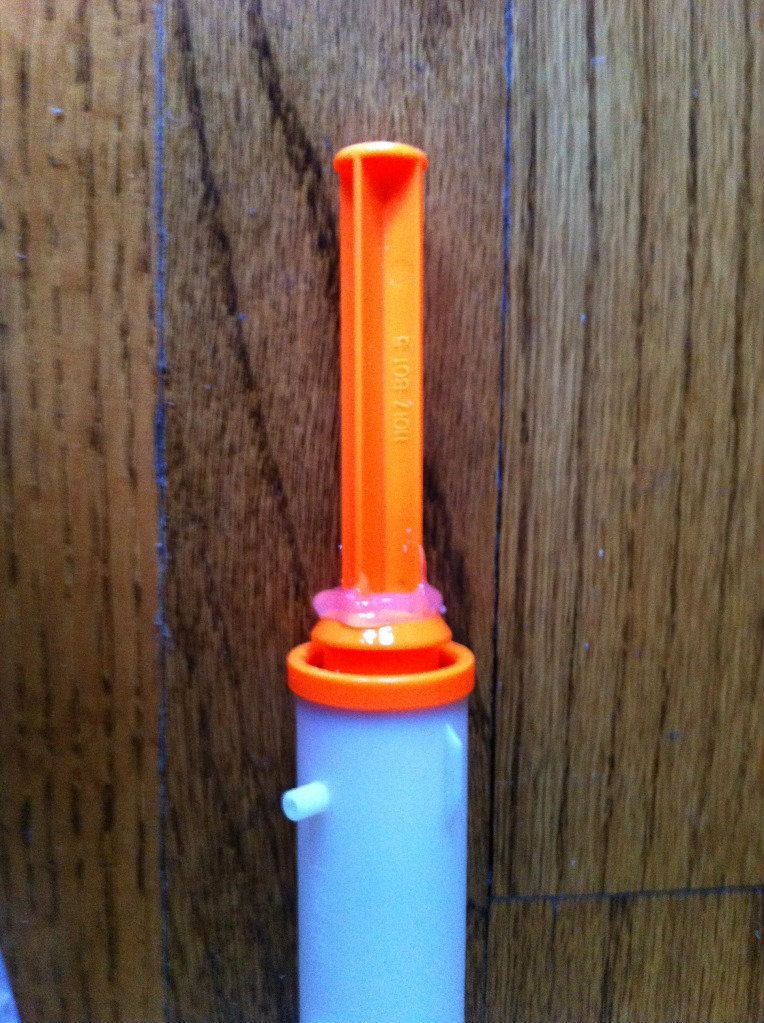
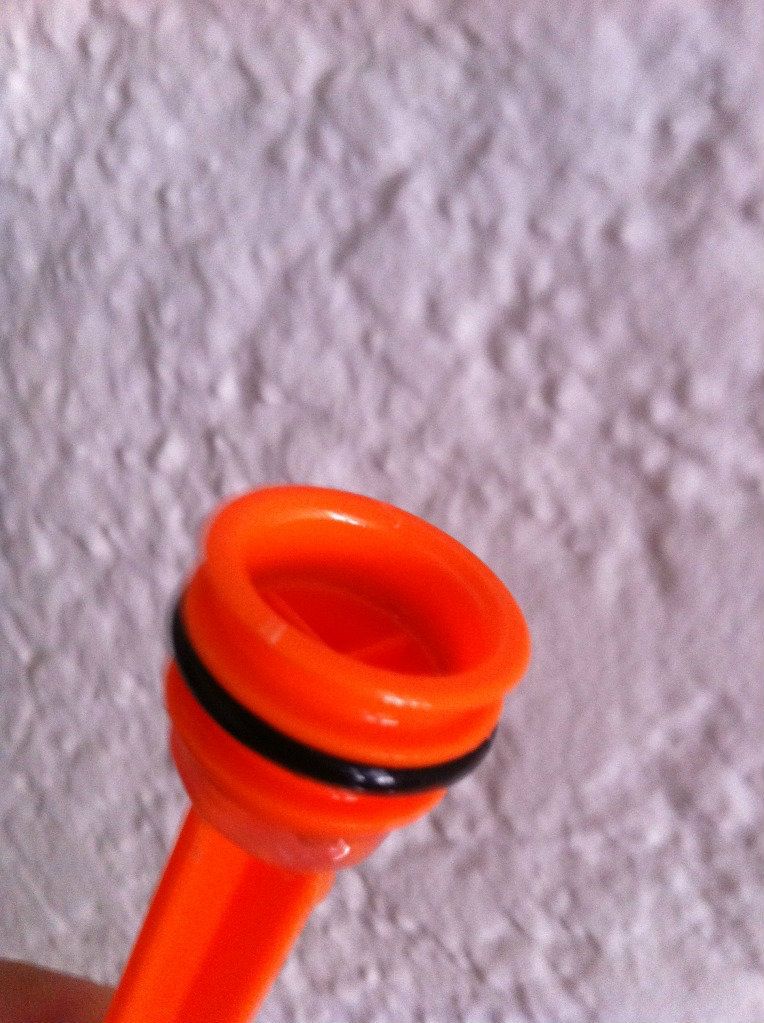 <----I've seen people removing the orange ring on the tube. This isn't needed, if you angle the rod you can pull it out without having to deal with the glue on the orange ring.
After that you need to grind down the first ----> lip of the plunger head. make it so the outer ring is angled so it will help guide the head into the smaller portion of the plunger tube.
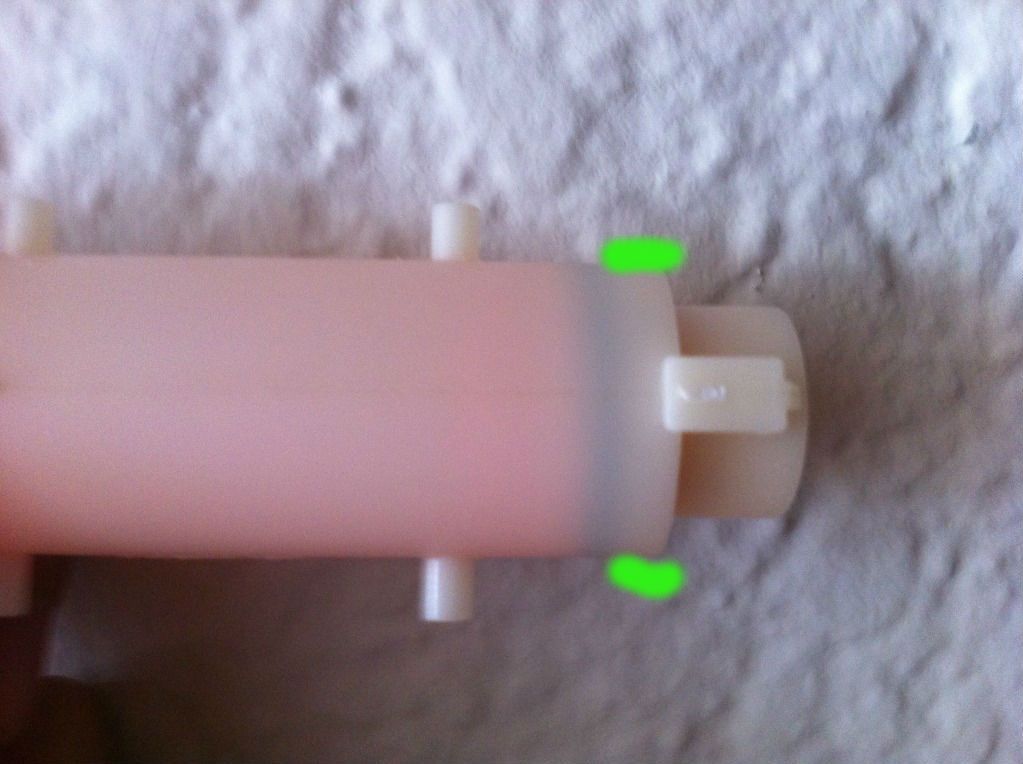
Spring compression
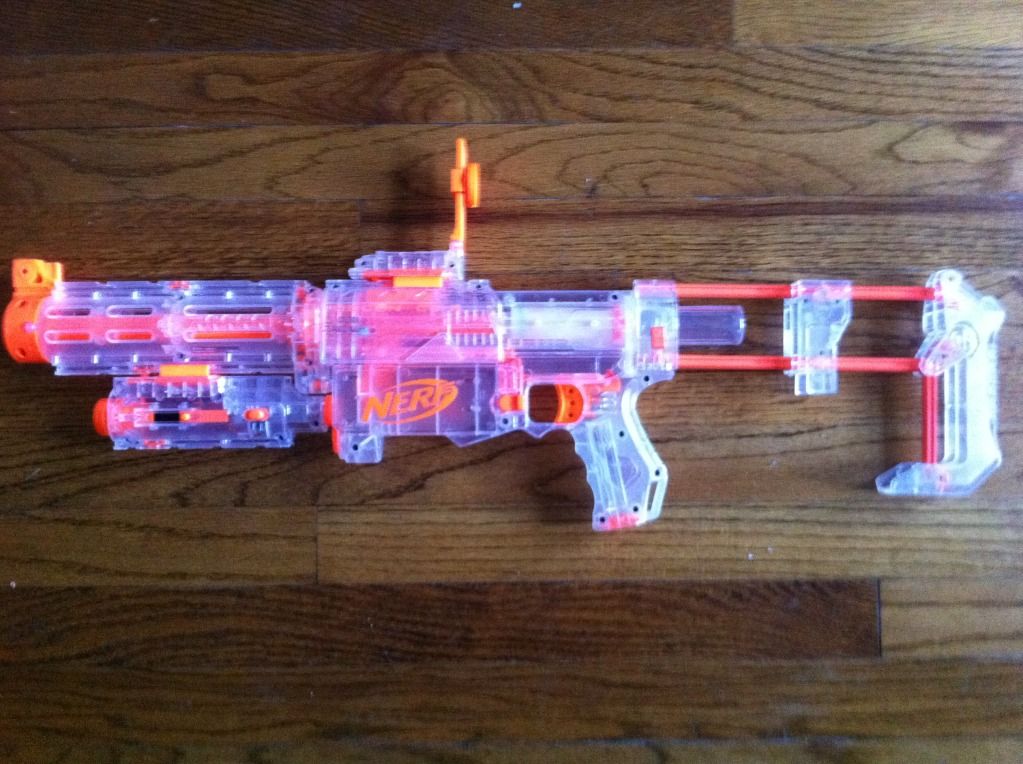
Retalicon!:
I was pretty mad that I bought this clear recon on super clearance right before elites were announced. I thought that I would try to make something cool out of it rather then let it sit in its box.
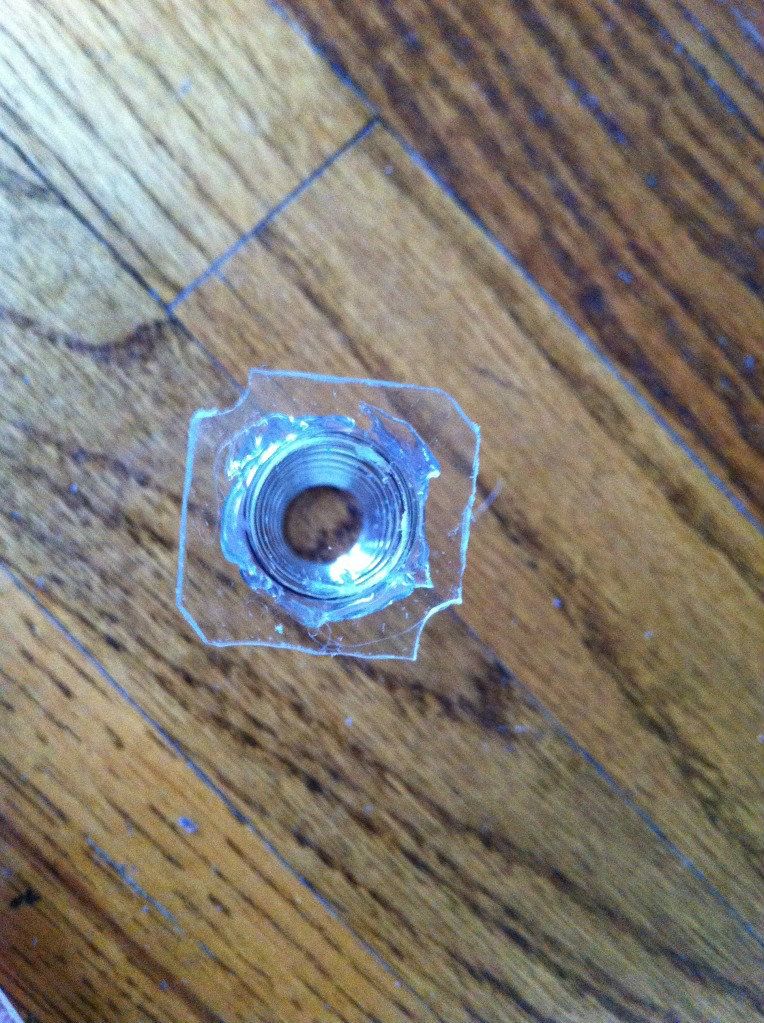
A hole needs to be drilled out in the middle allowing the plunger rod to go through so the blaster can prime.
Glue the spring into place on the plate. The spring serves as a guide for the rod and this makes it so the spring is always centered on the hole.
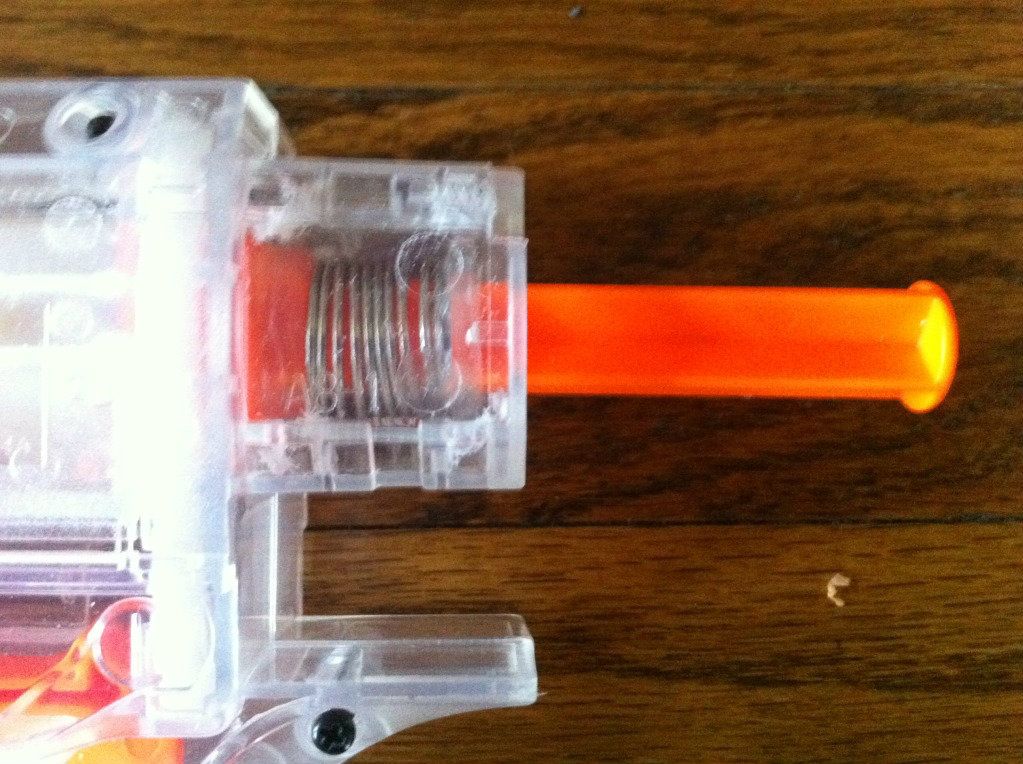
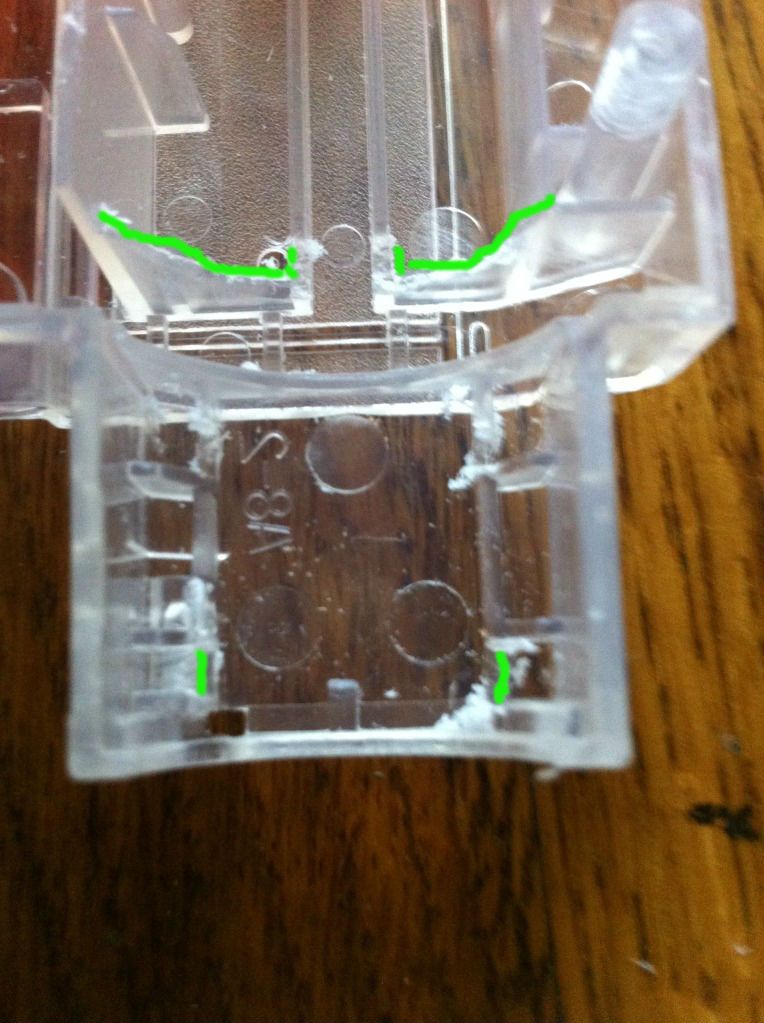
This area is actually the limiting factor for the retaliator and rampage. The springs have to compress to a very small length or the catch wont engage.
Also, If the spring is a bigger diameter it wont be able to clear the catch .
Between these two things the springs you can use for the Elites are very limited.
Could you use an omw recon kit back plate for the plate instead of making one?
ReplyDeleteNo, the OMW recon kit's plate was made to allow the reverse plunger tube to pass through. The Retaliator spring is a smaller diameter than the reverse plunger.
ReplyDeleteInteresting and important information. It is really beneficial for us. Thanks
ReplyDeleteCompression springs
I did this and it isnt catching. any reason why?
ReplyDelete